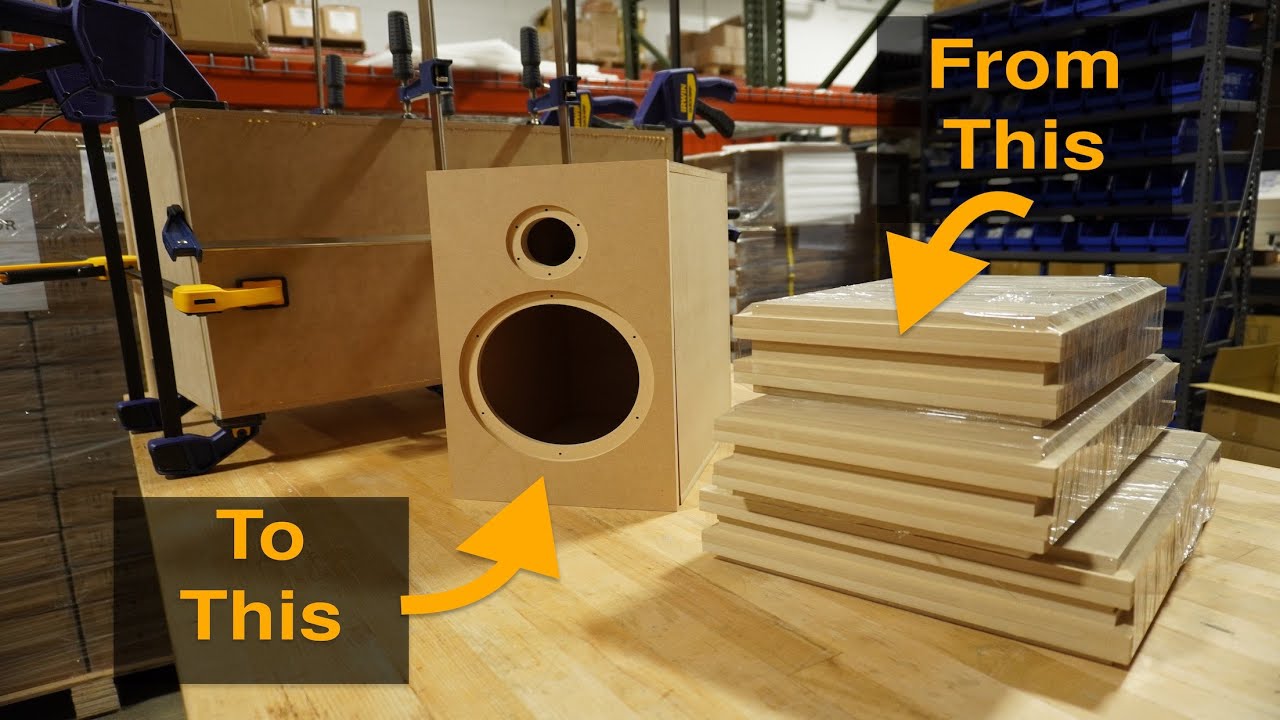
Finishing Options for Flat Packs
Over the years of building speakers cabinets, there are several things that I have learned about the process. The first is that woodworking is never as easy as it seems in magazines or YouTube videos. Good tools definitely make a difference your quality, but it takes time and experience to get really good at it. Flat-packs can help make building the cabinet much easier, but you’re still left with the issue of putting a finish on them. So today’s post covers some different finishing options for our flat-packs. I’ll cover these in the order I ease of application.

Duratex

The easiest option is definitely something like Duratex (or other textured coatings like truck bed liner). Duratex is great because you can buy it in a white base coat that you can then tint with other colors. It’s water based so it is easy to clean up, and dries to a hard durable finish. You apply it with a paint roller and you can go from a higher texture finish using a high nap roller to a much finer texture with a higher density foam roller. Just sand the cabinets smooth before applying and then roll it on according to the directions. However, this is my least favorite visually. If you don’t have a lot of time to put into the finish and don’t mind the look of it, this is for you. If you want something more high-end looking, read on for other options.
Veneer
I would say veneer is the easiest to get a good (read semi-professional to professional) looking finish with. Paper backed veneer is the easiest to work with but your options for figured veneer are more limited if that’s what you are looking for. It is also difficult if not impossible, when using a dark wood to completely hide the paper layer in the veneer. It’s usually not visible unless you are close to the speaker, but it’s definitely still there. I like using Heat Lock glue from www.veneersupplies.com for paper-backed application. The iron-on method is by far the easiest to apply and can be done on a kitchen table without having to worry about fumes.
Raw veneer is harder to work with than paper backed. Not only is it harder to apply, but it is typically more brittle and fragile, so you have to be more careful while handling it. However, you can get basically any wood you want in raw veneer sheets, so it opens up a lot of options. Typically, the best option for raw veneer is a vacuum press, but most DIYers aren’t going to have access to that. What I have used that can work well if you have only flat panels like our knock-down cabinets, is basically a homemade press. To do this, you need another piece of MDF or some kind of hardwood just a little bigger than your panel you are veneering. You first put down a layer of wood glue (like Titebond II) and spread it out evenly using a brush or roller. Then place your veneer on top. Next comes a layer of wax or parchment paper. This layer is critical, as it prevents any squeeze-through from bonding to your pressing piece. Then put the board on and apply even clamping pressure over the whole surface. This obviously takes a lot longer as you can basically only do one panel at a time, but it is reasonably easy to do.

If you are using paper backed veneer, you can use an Exacto knife to trim by going slow and steady. Be careful, as your blade will want to follow the grain. I’ve finished cabinets like this when I was younger living in small apartments and it works, but it’s definitely better to use a spriral up-cut flush trim bit and router. You’ll get a much cleaner edge this way. Make sure it’s a spiral up-cut, as the up-cut action helps prevent tear-out of the grain. The driver cutouts usually do not have enough depth for the bearing on the spiral up-cut bit, so a lot of people use a laminate trim flush trim bit (https://www.infinitytools.com/routing/router-bits/carbide/flush-trim-router-bits/solid-carbide-flush-trim-router-bits-for-laminates) in those spots. Don’t use it on the regular panels though. The lack of a bearing will cause it to scorch your veneer where it rides on the side. You can also use the Exacto knife here again.
Once you have the veneer trimmed, lightly sand the cabinet and then you can finish with standard brush-on or wipe-on poly for an easy finish. Or you can get much fancier. There are a number of woodworking sites out there with finishing tips and everyone has their own preference. I’ve even just used satin or gloss lacquer before over raw veneer, which can look nice.
Vinyl

I won’t say too much about vinyl because it is somewhat similar to working with veneer. I think the biggest difference for vinyl is that your surface needs to be smooth and dust free or you will get bubbles or peeling from the veneer. I’ve tried it over bare MDF before with moderate success, but a nice sealing layer of paint or something like SealCoat will help. Use heat from a heat gun or hair drier to make the vinyl more flexible if going around bends, but I would recommend on flat panels to cut at all the edges rather than trying to wrap the sharp 90 degree corner.
Vinyl quality can vary widely by the manufacturer. I’ve seen some that looks very good and others that look incredibly cheap. In addition to the looks, the cheaper vinyl also often has lesser quality adhesive properties. 3M is a well-known brand in the industry that has consistently good products, so probably can’t go wrong there.
Paint
Paint is by far the hardest finishing option, especially if you want to go for high gloss. Every little imperfection will show in the finish. The other issue you have is that the cabinet material expands and contracts with temperature and humidity changes. What tends to happen is that over time you get ghosting of the seams at the joints. The only ways I’ve seen to prevent this are to either cover the cabinet with a thin laminate (or something like melamine) first to put all the seams at the corners, route out the joint and fill with body filler, or use mitered cabinet edges. After that, you still have to make sure your cabinet is perfectly prepped or you will end up with flaws in the finish.
The other issue with paint is spraying the finish. You can do it with a rattle can, but the paint in these is much thinner so it takes more coats and doesn’t go on as well as a gun. There are some online tutorials if you Google it demonstrating how to finish with a spray can. I’ve done it a few times and it is really difficult to not sand through somewhere, even with a lot of coats of clear. Dupli-Color has the best spray tips to spray evenly, but it goes on very thin. Rustoleum’s spray tips are not nearly as good, so it’s harder to keep lines out of the paint but it’s easier to get a thicker coat. Rustoleum is a different kind of paint though, and can take longer to cure. Whatever you do, don’t mix the two or you will end up with something that looks like crocodile skin. If you’ve got a spray gun, it can be much easier. You can usually pick up automotive paint at your local auto parts store for use in a gun.
If you are spraying, start with a high build filler primer. I’ve talked to a number of people that do a lot of sprayed finishes and I’ve been told several times that it is a good idea to use a guide coat. Basically, you put your primer on and then spray a light coat of something that is a color that will stand out against your primer. Then you block sand so you can see low spots in your finish that will need to be filled with some type of body filler. This will help you get that smooth finish to start with.
The last bit of wisdom I will share on this is that unless you are a professional, don't expect a professional flawless finish. Finish work is a skill that just like any other skill, needs practice to get good at it. If this is your first time, you'll inevitably run into problems, but part of the fun of building your own is the joy of knowing you did it yourself and the learning experience you get along the way.