DIY 3D Printed Circle Jig Router Guide
- Dan Poinsett
- Aug 29, 2017
- 2 min read
Updated: Jul 10, 2024

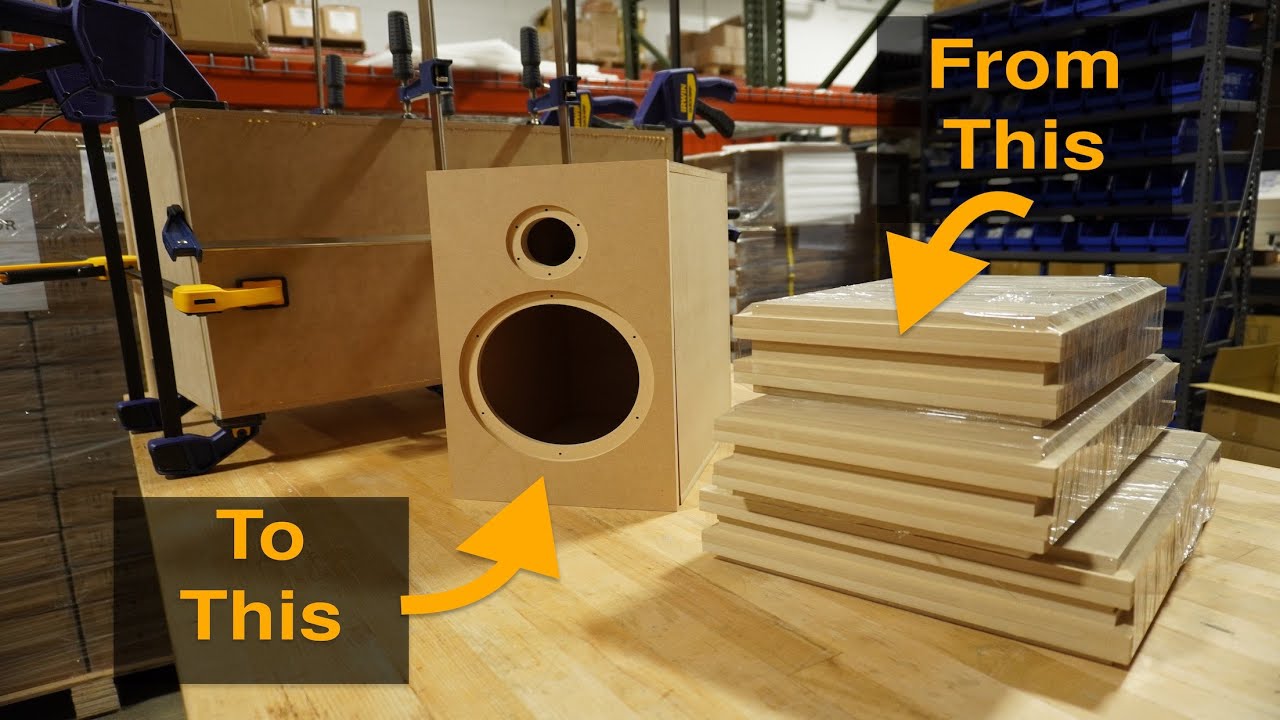
There are a few circle jigs available for woodworkers, and even some specifically geared toward speaker builders. While these readily available products work pretty well, there were some features that did not suit our needs perfectly - so we designed our own and had it 3D printed out of glass-filled nylon with a laser sintering process! Our unit was produced over 10 years ago and still works great - how's that for product testing! Today there are a multitude of materials and processes available that should work similarly. If you have access to a 3D printer, you can make it for the cost of the material.
This jig is small enough to leave permanently attached to your plunge router base. It is less than 3/8" thick and protrudes only 2" on one side beyond the 6" diameter. It is infinitely adjustable to cut holes from 1.625" to 16.5" depending on the bit used, and a simple thumb screw is all that is needed to make the adjustment. The CAD file includes mounting holes that align with some commercial plunge bases, but can be modified in CAD or drilled and countersunk after printing to accommodate other models.

Once assembled, simply drill a pilot hole at the center of your intended cut, press a dowel pin (described below) into the hole, align one of the slider holes over the pin and lower the jig/base/router onto the pin. From here, adjust your distance visually and lock down the slider with the thumb screw. Good results can be obtained as well by first measuring the distance from the center of the intended slider hole to the outside edge of the router bit, locking the slider with the thumb screw, then lowering the assembly onto the dowel pin.
Follow the link to download the .stl files to make your own and please note the few extra pieces you'll need for a functional model. Parts should be built individually and assembled after printing.
(qty 2) #10 x 1" coarse thread screw
(qty 1) #10 washer, 1/2" in diameter -- note: this will be glued to the insert part to provide a durable strike for the 1/2" bolt
(qty 1) 1/2" - 13 bolt 1" long with 3/4" hex head -- note: clamp part must be tapped for 1/2" - 13 thread and the BoltCap part should be glued to the hex head to provide better torque leverage
(qty 1) 8d nail segment cut to 3/8" length -- note: slider part holes will be generated to fit 8d nail segment perfectly, but 1/8" x 3/8" steel dowels can be used instead. In this case, holes in slider will need to be drilled to 1/8" diameter or modified in CAD
Almost any glue will work for the parts above as there is very little force working against the glue in this application. We used superglue with good results.
Enjoy and email us with any questions!


Creating your own 3D printed circle jig router guide is a fantastic DIY project that combines precision and creativity. It's a great way to enhance your woodworking skills while making a useful tool for future projects. For those looking to add a fun, personal touch to their builds, LEGO Speed Champions light kits can be a great way to illuminate your LEGO creations. DIY enthusiasts can really benefit from adding such details, making their projects even more rewarding and enjoyable.